¶ Document Templates
Now that you've collected the Salesforce data you need for the Sales Quote document using Query Builder, it's time to build the Document Template.
First, create a Document Template record in Salesforce. The record connects a file you plan to use as a template with the Salesforce data you retrieved in the previous step. The file can be of the following formats:
- DOCX
- XLSX
- PPTX
- Google Docs
- Google Sheets
To create Document Templates, you first need to set up the Headless application.
Document Template links the Document Solution with a specific file. This connection enables you to use fields from the Query Builder in the file and modify them according to requirements.
You can have multiple different Document Templates on one Document Solution and select the needed Template each time you generate a document.
On Maven Documents, Microsoft and Google documents work a bit differently. We will now show how to create a Document Template using each type, so you can see what we are talking about.
¶ Create an Azure Document Template in Maven Documents
Now, we will show you how to create a Document Template with a DOCX file connected.
-
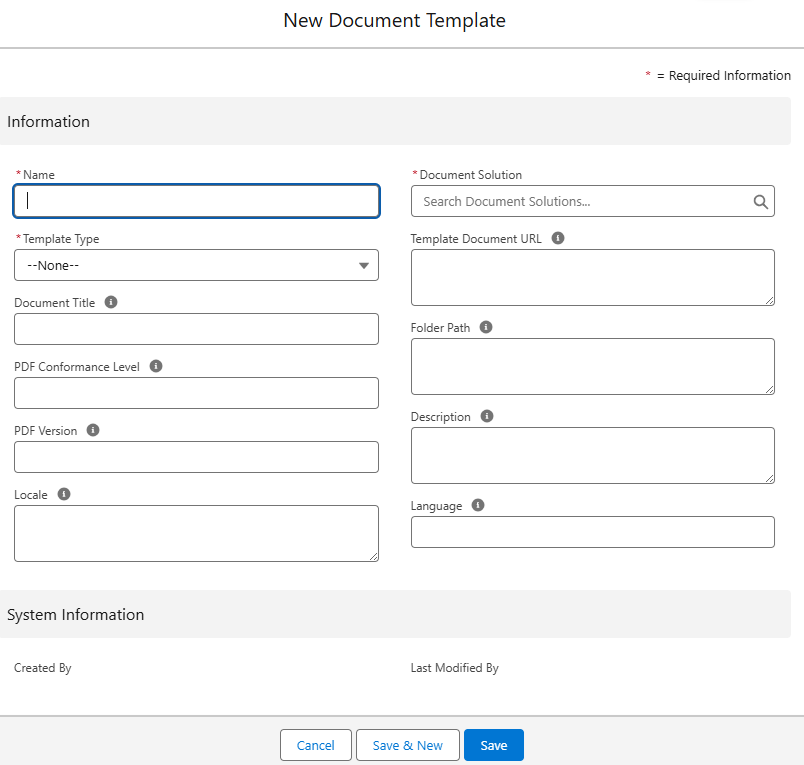
In the Maven Documents app, open the Document Templates tab and click New.

-
The New Document Template screen pops up, containing all the fields you need to set up the Document Template record.
-
Fill in the required fields with the following values:
- Name: Sales Quote Template
- Document Solution: select the created Sales Quote Document Solution.
- Template Type: DOCX
With these fields populated, you have enough information to create a Document Template.
However, follow the rest of the steps to have a grasp of all possible tweaks.
-
The Template Document URL field is populated with the link of the online file that is uploaded to the Document Template.
There are 2 ways to populate the field:- It is populated automatically once you upload the online DOCX file using the Maven Add-in.
- Copy the link to the needed file and paste it into the field.
Since the PPTX templates don't support the Maven Add-in yet, manually populate the Template Document URL field with the link to the online PPTX file.
-
To have a specific name for the generated document, you could populate the Document Title field with this name. If you leave this field blank, the generated document is named after the file you upload to the Document Template.
The document title can also contain merge fields like {!Opportunity. Name}. So you can start customizing the document from the very beginning.
-
If you would like to place the generated document into a specific folder on OneDrive, you can define the path in the Folder Path field.
Here are some examples of how you can fill in the field:- Folder Name 1/Folder Name 2
- {!Document_Request__c.Name}
- Folder Name 1/{!Record.Name}
- {!Record.Name}/{!Document_Request__c.Name}
- etc.
- If the Folder Path value matches the already existing path on OneDrive, the generated file appears there. Otherwise, new folders are created.
- If the field is left empty, the generated file appears in the same folder as the template document.
-
In the PDF Conformance level field, you can enter the value that defines the necessary level.
These levels set clear rules and standards for PDF files. It ensures such files are self-contained, work on any device, and are good for long-term storage. These rules cover fonts, colors, metadata, transparency, and other aspects of creating and storing PDFs. The goal is to ensure that PDFs look the same regardless of the system or software used to open them.If you leave the field untouched, the PdfA3a level is applied by default.
-
The PDF Version field defines the version of the PDF specification to which the PDF Document conforms. In this field, you can put the value that represents the necessary version.
If you leave the field untouched, the PDF_1_7 version is applied by default.
-
The Description field can hold additional text information that helps users to work with the record.
-
The Locale field displays such data as currency, numbers, date, and time in the generated document in the format of the desired country's locale. If this field is not specified, the current user's locale is used.
In the screenshot below, we used the Croatian locale as an example. Here you can find more information on how to use the field. -
The Language field is connected to the Template Labels feature. The value here allows you to translate the defined parts of the document in the language you set.
-
Click Save.
With these steps passed, you now have the DOCX Document Template record created.
To build a Document Template with an XLSX or PPTX file, you can follow the same instructions but select the respective file type instead of DOCX.
- If you have the offline file uploaded to the Document Template, the Template Document URL field remains empty.
- If you decide to upload the online file to the Document Template that already has the offline file, the Template Document URL is populated with the respective link, the Document Template Id value is changed, but the offline file stays attached to the record.
- If you upload the offline file instead of the online one, the Template Document URL becomes empty, the Document Template Id value is changed, and the offline file is attached to the record.
Although the Template Document Id field is not shown on the Document Template layout, it still holds the corresponding value in the background. The field gets automatically populated with the ID of the DOCX, XLSX, or PPTX file, once you upload it to the Document Template.
The Template Preview tab on Azure templates won't have the file preview, cause this feature works only for Google Docs and Google Sheets template types.
The following step is to enhance the created document with data from Salesforce. Use the links below to read the instructions:
¶ Create Google Document Template in Maven Documents
Follow the steps below to create a Document Template record:
-
In the Maven Documents app, open the Document Templates tab and click New.
-
The New Document Template screen pops up, containing all the fields you need to set up the Document Template record.
-
Fill in the required fields with the following values:
- Name: Sales Quote Template
- Document Solution: select the created Sales Quote Document Solution.
- Template Type: Google Doc
With these fields populated, you have enough information to create a Document Template.
However, follow the rest of the steps to have a grasp of all possible tweaks.
-
The Template Document URL field holds the URL of the Google Docs file that you are going to connect to the Document Template. You can overwrite the value in the field manually at any point by pasting the URL of a new Google Docs document.
The field is only populated manually. You can not upload a new file to the Document Template using the Add-on and overwrite the value in the field.
-
To have a specific name for the generated document, you could populate the Document Title field with this name. If you leave this field blank, the generated document will be named after the Document Template.
The document title can also contain merge fields like {!Opportunity. Name}. So you can start customizing the document from the very beginning.
-
If you would like to place the generated document into a specific folder on Google Drive, you can define the path in the Folder Path field.
Here are some examples of how you can fill in the field:- ID of the Google Drive folder
- ID of the Google Drive folder/Folder Name 1/Folder Name 2
- ID of the Google Drive folder/{!Document_Request__c.Name}
- ID of the Google Drive folder/Folder Name 1/{!Record.Name}
- {!Record.Name}/{!Document_Request__c.Name}
- Folder Name 1/Folder Name 2
- etc.
The ID of the folder can only be used at the beginning of the path. If you place it second or further, the value is recognized as a string, and you'll get the folder named after the ID value.
- If the Folder Path value matches the already existing path on Google Drive, the generated file appears there. Otherwise, new folders are created.
- If the field is left empty, the generated file appears in the same folder as the template document.
-
In the PDF Conformance level field, you can enter the value that defines the necessary level.
These levels set clear rules and standards for PDF files. It ensures such files are self-contained, work on any device, and are good for long-term storage. These rules cover fonts, colors, metadata, transparency, and other aspects of creating and storing PDFs. The goal is to ensure that PDFs look the same regardless of the system or software used to open them.If you leave the field untouched, the PdfA3a level is applied by default.
-
The PDF Version field defines the version of the PDF specification to which the PDF Document conforms. In this field, you can put the value that represents the necessary version.
If you leave the field untouched, the PDF_1_7 version is applied by default.
-
The Description field can hold additional text information that helps users to work with the record.
-
The Locale field displays such data as currency, numbers, dates, and time in the generated document in the format of the desired country's locale. If this field is not specified, the current user's locale is used.
In the screenshot below, we used the Danish locale as an example. Here you can find more information on how to use the field. -
The Language field is connected to the Template Labels feature. The value here allows you to translate the defined parts of the document in the language you set.
-
Once all the fields you need are populated, click Save.
This is how you can create the Document Template record using the Google Docs file.
Once the record is saved, you can preview the connected Google Docs without leaving Salesforce by clicking on the Template Preview tab.
Although the Template Document Id field is not shown on the Document Template layout, it still holds the corresponding value in the background. The field gets automatically populated with the ID of the Google Docs or Sheets file, once you paste its URL in the respective field on the Document Template.
The following step is to style the created document using the Maven Add-on. Use the links below to read the instructions: