¶ Template Labels
This Object helps you translate a part of the document to any language you need, making the document more informative and accessible. You can use a single template for generating documents in different languages.
Here are the main use cases of Template Labels:
¶ Translating a merge field label
In this scenario, you can use the value from the "Template Label" Object exactly as a label, directly translating the needed merge field label.
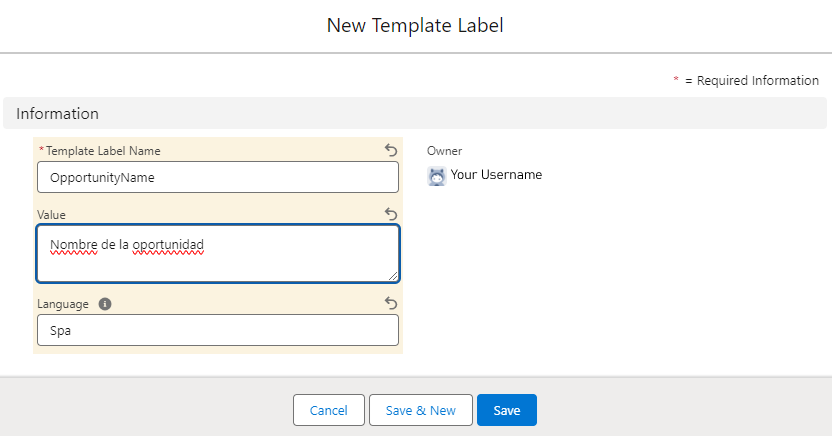
Let's say you would like to label the name of the Opportunity in Spanish.
The feature works when the document is generated either with the Flow or manually created Document Request.
-
Go to the "Template Labels" tab.

-
Click New.
-
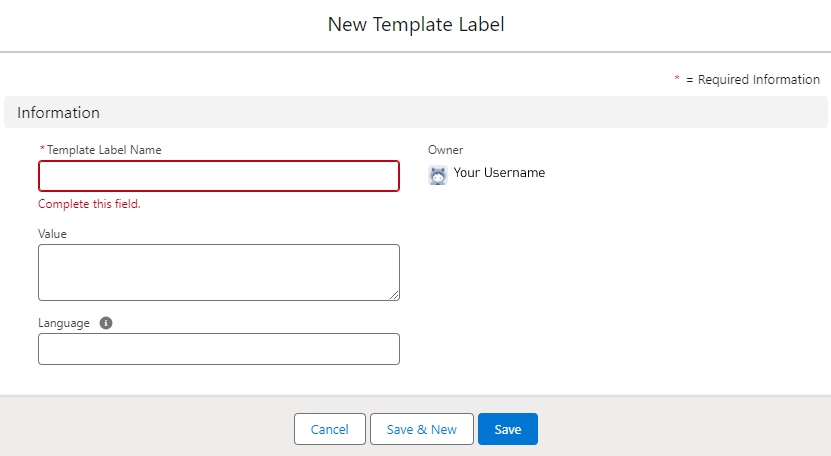
In the "New Template Label" window, fill in the fields with the needed values and save the record.
- Template Label Name. By this name, the label is referenced in the template document. The field is required.
- Value. The translation that will appear in the document after generation is complete.
- Language. Defines the language used in the "Value" field. The content of this field is used in the Flow and the Document Request to choose the specific translation.
You can use the screenshot below as a reference.
-
Now, go to the template document and put the created label into the document alongside the needed merge field, using the "{!$Labels}" function.
Take a look at the screenshot below.

-
In the Flow that generates the document, fill in the "Language" field on the "Generate Document" component with the corresponding value from the created "Template Label" record. The same field is used when creating a Document Request.

-
Run the Flow or save the created Document Request.
Once the document is generated, you will find the translation of the defined value alongside the value itself.

You can create a couple of Labels with the same name, but different values and languages. After you put the name of those Labels in the "{!$Labels}" function inside the template document, the generated value depends on the language you define in the Flow or the Document Request.
¶ Translating a paragraph of text
Another situation, when Template Labels can help you, is the translation of some parts of a text. Defining Template Label is exactly the same as in the previous example.
The feature works when the document is generated either with the Flow or the manually created Document Request.
-
Go to the "Template Labels" tab.
-
Click New.
-
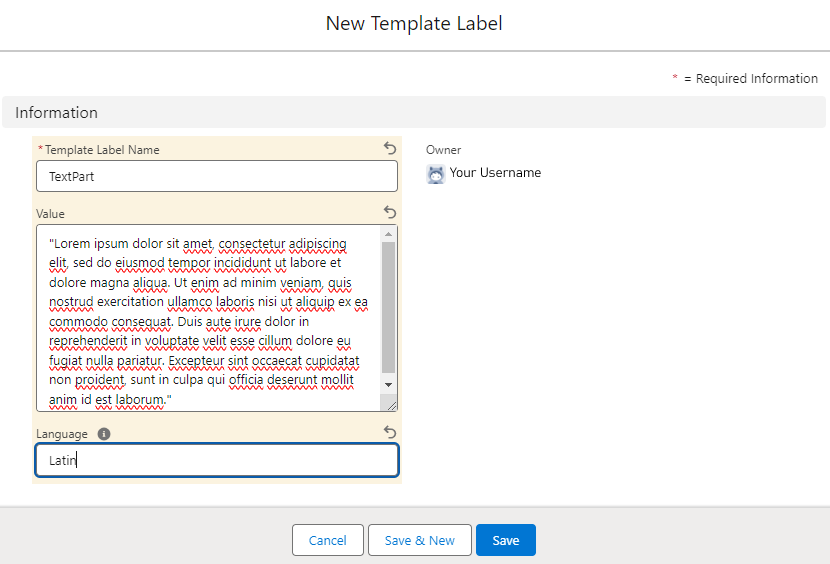
In the "New Template Label" window, fill in the fields with the needed values and save the record.
- Template Label Name. By this name, the label is referenced in the template document. The field is required.
- Value. The translation that will appear in the document after generation is complete.
- Language. Defines the language used in the Value field. The content of this field is used in the Flow and the Document Request to choose the needed translation.
You can use the screenshot below as a reference.
-
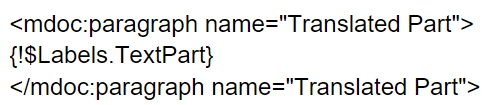
Now, go to the template document. Put the created label inside the Paragraph element or as a value for the RichText element, using the {!$Labels} function.
Take a look at the screenshot below.

-
In the Flow that generates the document, fill in the "Language" field on the "Generate Document" component with the corresponding value from the created "Template Label" record. The same field is used when creating a Document Request.

-
Run the Flow or save the created Document Request.
Once the document is generated, you will find the translation inserted into the document.
If needed, you can use the "Hidden" parameter on the "Paragraph"/"RichText" element to show/hide the translation according to the set conditions.
Bear in mind that the "Value" field on the Template Label has a limit of 10000 characters. That is why you'd better not use Template Labels to insert large parts of text. For that specific need, using the "Include" element is more suitable.
¶ Translating picklist values
This option is useful if you have a field with a picklist on Salesforce. The picklist value you see on your screen may differ from the API name of this value. In the generated document, you need the selected picklist value and not the API Name. That's where Template Labels become handy.
Let's say you have a picklist field with country codes as defined in the image below. If you simply place the merge field in the document template, the generated value will be "DE", as that’s the value of the Opportunity’s custom "CountryCode__c" field.
Instead of printing "DE" on the document, you want to print "Germany", the same way the picklist option value is presented in Salesforce UI.

You can achieve that easily by adding Template Labels for the picklist options.
The feature works when the document is generated either with the Flow or the manually created Document Request.
-
Go to the "Template Labels" tab.
-
Click New.
-
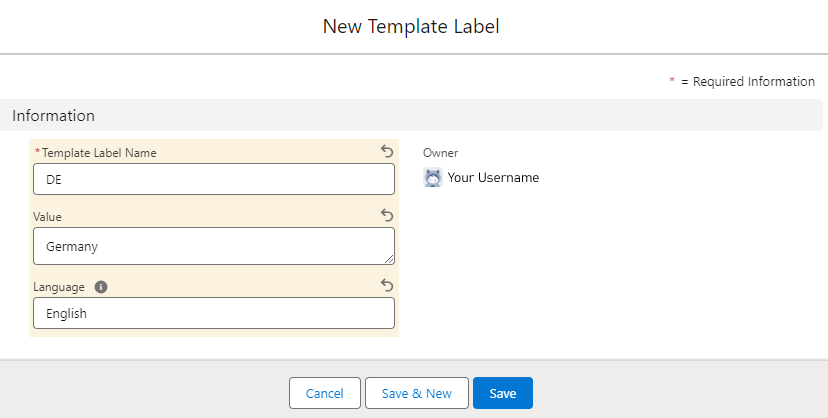
In the "New Template Label" window, fill in the fields with the necessary data and save the record.
- Template Label Name. By this name, the label is referenced in the template document. The field is required.
- Value. The translation that will appear in the document after generation is complete.
- Language. Defines the language used in the Value field. The content of this field is used in Flow and Document Request to choose the needed translation.
You can use the screenshot below as a reference.
-
Now, open the template document and insert the content from the screenshot below. We used the merge field alongside the {!$Labels} function to demonstrate the difference.

-
In the Flow that generates the document, fill in the "Language" field on the "Generate Document" component with the corresponding value from the created "Template Label" record. The same field is used when creating a Document Request.

-
Run the Flow or save the Document Request.
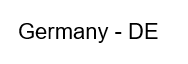
Once the document is generated, you will find the picklist value of the defined field alongside its API Name, which is the value stored in the merge field. In this example, we used Template Label to replace the field value with the desired label.
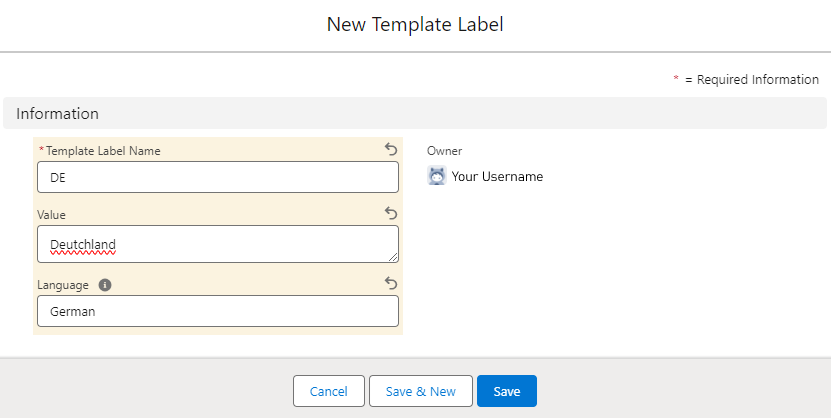
If you need to translate these labels to another language, you can easily add a new Template Label with the same Template Label Name, but with a different Language and Value.
¶ Fields
| Field API Name | Values / Type | Description |
|---|---|---|
Name |
Text |
The name that is used for referencing the label in the template document. |
Value__c |
Long Text Area |
The value that is shown in the generated document. |
Language__c |
Text |
Defines the language of the Label. |
OwnerId |
Lookup(User,Group) |
Lookup to the owner of the record. |
LastModifiedById |
Lookup |
Lookup to the user who last edited the record. Includes the date and time of the last edit. |
CreatedById |
Lookup |
Lookup to the user who created the record. Includes the creation date and time. |