¶ DOCX Templates
The Maven Documents Template Builder add-in for DOCX files is a powerful tool that helps you build a template document using data from Salesforce.
¶ Install Template Builder
You can use the add-in in both the online and offline versions of Microsoft Word. However, the installation process differs between them.
¶ Online version
Follow the next steps to install the Maven Documents Template Builder on the online version of Microsoft Word.
-
Go to Office.com or Microsoft OneDrive and log in to your Microsoft account.
-
Create a new Word document or open an existing one.
-
In the "Home" tab on the Word taskbar, click on the "Add-ins" icon.

-
In the dropdown menu click the "+More Add-ins "button.
-
It opens the Office store. Search for the Maven Documents Template Builder there.
-
Select the "Template Builder" add-in and you'll be redirected to the add-in's page. You can find some useful links and information there.
Then click the "Add" button.

-
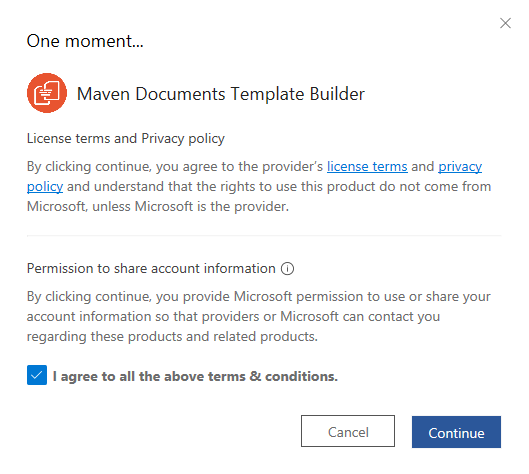
Read and if you agree with the terms and conditions, check the respective box. Click Continue.
-
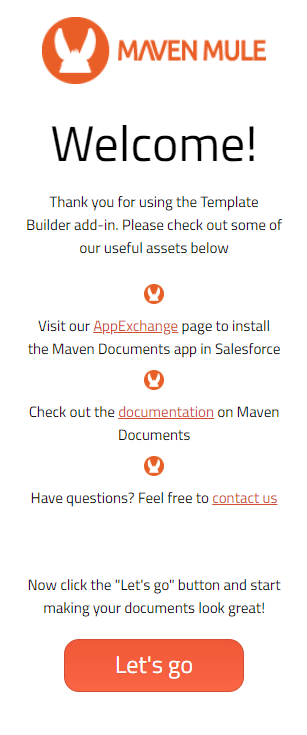
A "Welcome" message with helpful links will appear
Click Let's go.

Voilà! You can now use the "Maven Documents Template Builder" add-in on the online DOCX file.
¶ Offline version
Follow the next steps to install the Maven Documents Template Builder on the desktop version of Microsoft Word.
-
Go to appsource.microsoft.com/en-us/product/office/WA200004491 and click Get it now.
-
After the installation is complete, click Open in Word.
-
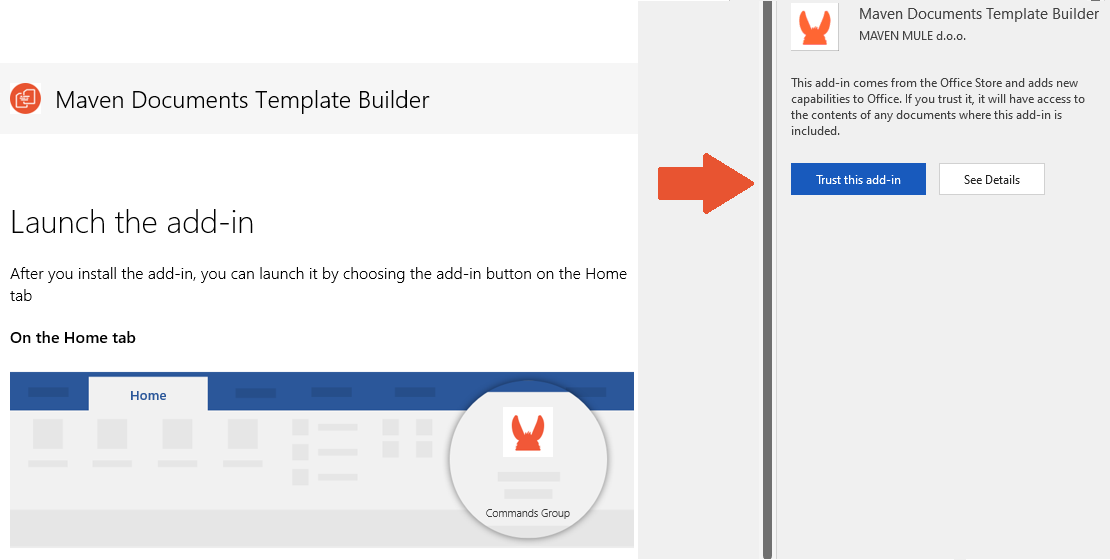
When Microsoft Word opens, you'll see the standard Microsoft page with quick instructions on launching the new add-in.
Click on the "Trust this add-in" button.
-
You'll see the message that Template Builder is successfully loaded and the logo of the add-in appears in the Word's taskbar.
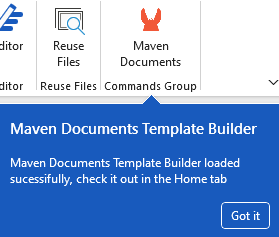
That's it! Now you have the Maven Documents Template Builder installed!
¶ Sandbox Version
To test Maven Documents features in the Sandbox Orgs, we developed a separate "Template Builder" add-in.
You can install the add-in by following the steps we provided above for the Online and Offline versions. You only need to select the "Maven Documents Template Builder (sandbox)" add-in.

¶ Run Template Builder
The first thing that you should do before building the template is to run the "Template Builder" add-in on your DOCX file and log into the Salesforce account.
¶ Online DOCX
-
Go to Office.com or Microsoft OneDrive and log into your Microsoft account.
-
Create a new DOCX file or open an already existing one.
-
In the "Home" tab click on the "Add-ins" button.
-
Select the "Maven Documents" add-in.
-
A "Welcome" message with helpful links will appear.
Click Let's goThe "Welcome" message appears for every new document and every first use of the add-in on the existing document. Once you start working with Template Builder in the document, the message is skipped.
-
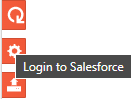
After the "Template Builder" work pane appears click the gear-shaped "Login to Salesforce" button.
-
A new dialogue window should open, offering two login options:
- Log in to Production
- Log in to Sandbox
Select where you want to log in.
We recommend you log in to Sandbox first to see if everything is working fine.

-
In the next dialogue window provide your credentials and click Log in.
If this is your first time logging into the Salesforce account with Template Builder, user verification is required from the Salesforce side. You'll receive an email with the verification code which you should enter in the required field.
-
Click Allow.
-
In the last dialogue window select the Document Solution you would like to use.

-
After you select the Solution you can select the Document Template to which you will upload the document.
-
If you'd like to upload the file immediately, check the box below. Otherwise, leave the field empty.
You can upload the file later with Template Builder. -
Click Done.
Under the "Solution/Template Select" title, you'll find the information on which org you've connected the Template Builder.
Once you finish the login process, you'll see that Template Builder reflects the query from the connected Document Solution.
¶ Offline DOCX
-
Run the desktop "Microsoft Word" application and create a new document or open an already existing one.
-
In the "Home" tab click on the "Maven Documents" button on the right side of the toolbar.

-
A "Welcome" message with helpful links will appear.
Click Let's go.

The "Template Builder" work pane appears on the DOCX file. You can follow the steps in the instructions for online files to log in to your Salesforce account.
¶ Meet Template Builder
Once you complete the login process, you can use Template Builder.
Before you start, let's have a glance at what we call the "Template Builder" work pane. Let's divide it into two parts: the "work" part and the "administration" part.
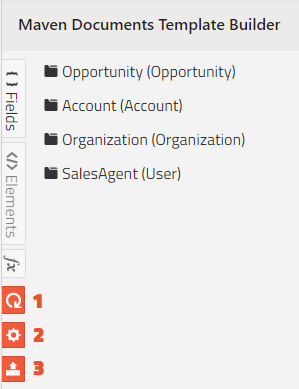
¶ The "work" part includes:
-
The "{} Fields" tab.
Here you will find the Objects and Fields you added to the query on the Document Solution. All objects and fields can be inserted into the document with one click.

-
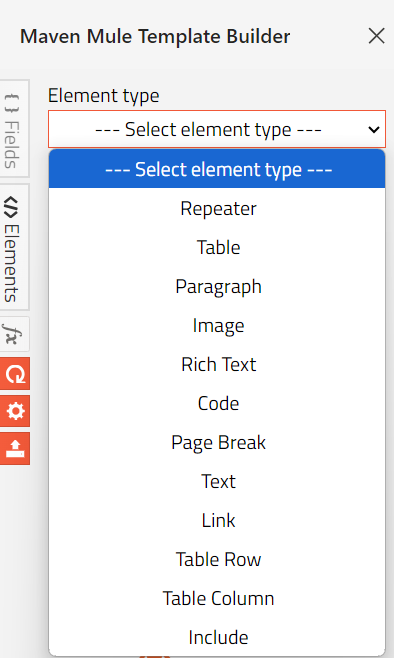
The "</> Elements" tab.
Here you have a picklist with the elements that could be inserted and used in the document. For detailed information on every element, you can check the "DOCX Elements Reference" page.
-
The "fx" or the "Expression Builder" tab.
Expression Builder lets you create expressions (similar to formula fields on Salesforce) without needing a formula field directly on your document. You can read more about expressions and their syntax on the "Expressions" page.
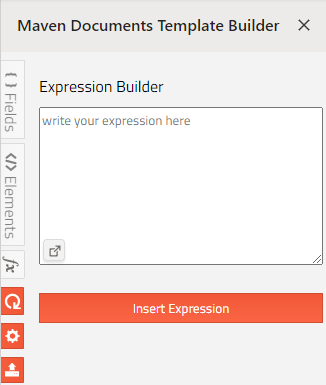
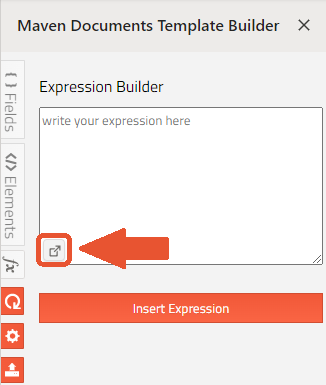
The icon in the bottom left of the expression input field opens Expression Builder.
First of all, you can see all available functions in the "Select function" menu. The first dropdown menu filters functions by categories (date, number, string, etc.), and the second dropdown menu contains functions you can use.
You can also insert your Salesforce fields into expressions by using the dropdown in the "Insert field" menu (an arrow (>) next to a field suggests that it's a relationship field - e.g. Account > Contact > ...).
After the function and fields are inserted, they appear in the text field below. You can edit the expression manually or use the expression builder again.
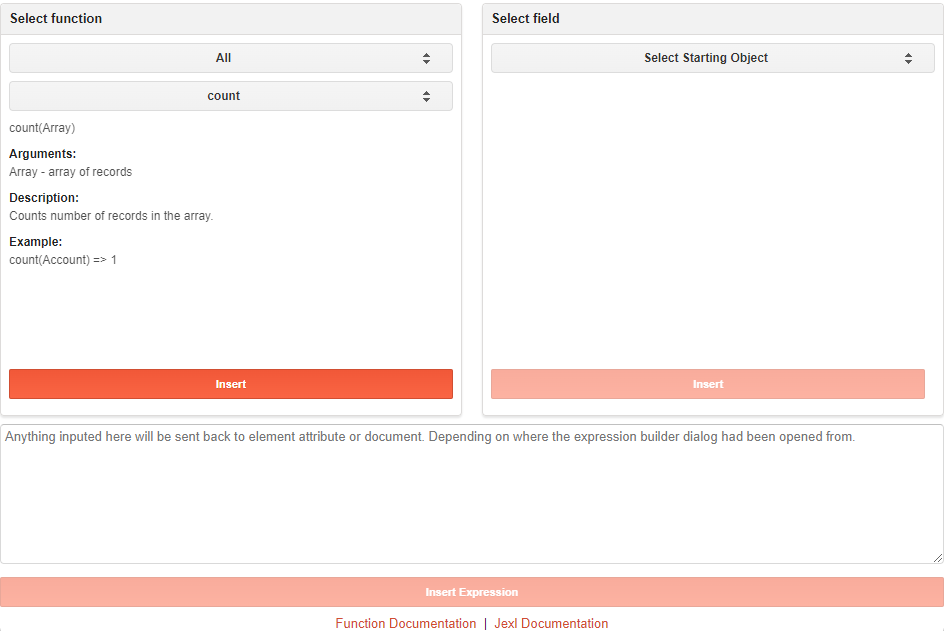
Before inserting the function or a field, verify that you've highlighted the text you want to replace in the text field below
¶ The "administration" part includes:
-
The "Refresh Nodes" button.
This button serves two purposes:- To reflect changes made on Salesforce side. For example, you've changed the name of an object or edited the query in Query Builder. After clicking "refresh", you will see the changes in Template Builder.
- The second purpose is to refresh the context inside the document to see fields from sub-queries. For example, if the cursor is placed inside a repeater or table, which iterates through a record, its name and included fields will also appear in the list fields on Template Builder after refreshing.
-
The "Login to Salesforce" button.
You are already familiar with this one. It helps to connect the Salesforce Org with Template Builder and select what Document Solution and Document Template to use. -
The "Upload File to Template" button.
Click on this button to upload the DOCX file you are working on to the Document Template, that you selected in the "Login to Salesforce" step.Once the file is uploaded to Salesforce it doesn't refresh automatically. After you edit the DOCX file, you need to upload it to the Document Template.
¶ Build Templates using Template Builder
Now that you know how to install and run Template Builder, it is time to create and modify the template document using all of the Template Builder's abilities.
Let’s have a look at how we create the Sales Quote document. You can use the prepared Document Solution from the Template Gallery as a reference.
¶ Adding fields and expressions
Write down the header of the document and place the cursor below so you can insert the fields there.
First of all, you need to log in to Salesforce to have the up-to-date query in the Template Builder.
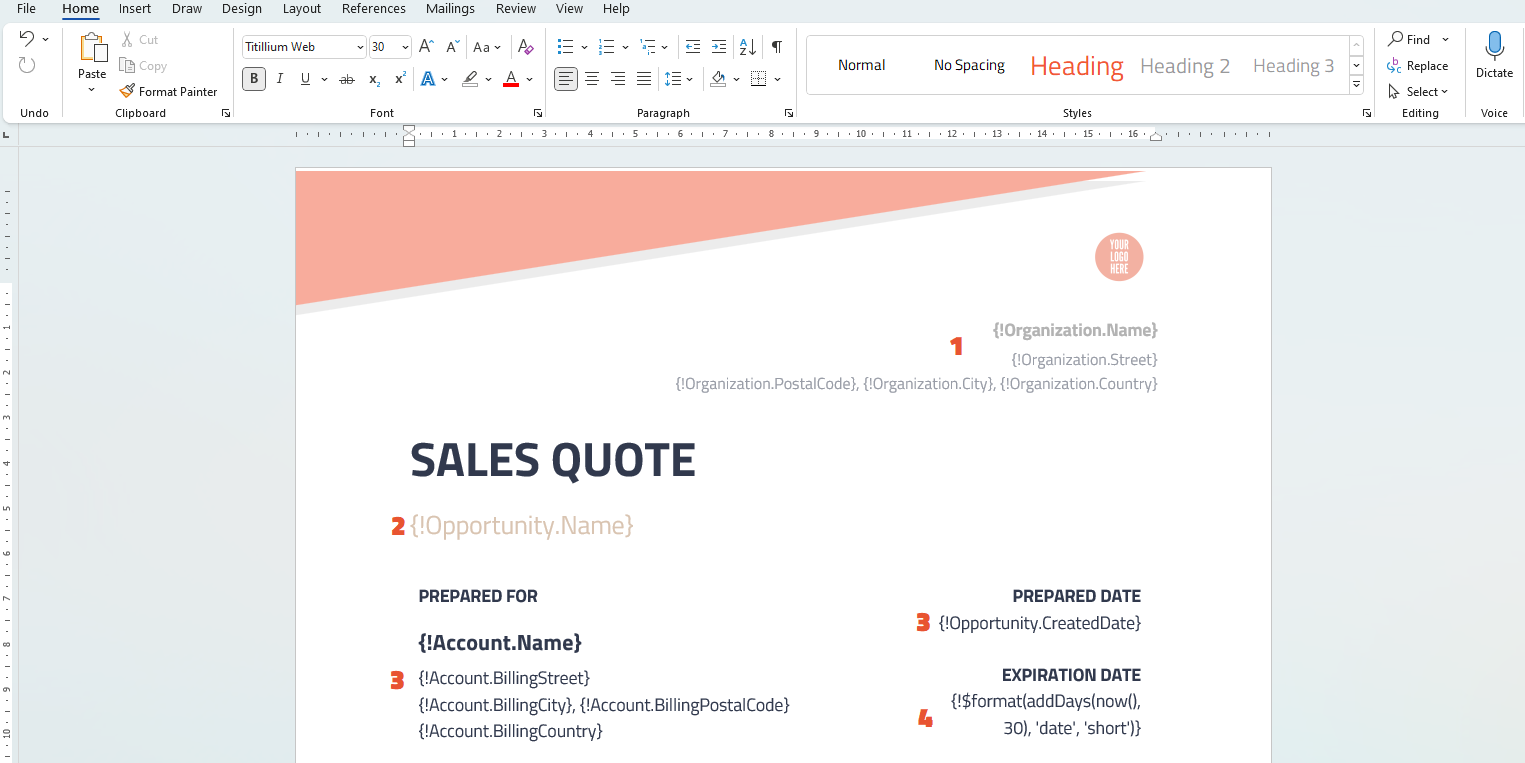
- In the header of the first page, you can include information about the organization, such as its name and address. You can select all these fields from the Template Builder.
- First, we use the "Name" field from the "Opportunity" Object to show from which opportunity you will take the data. Select the "{}Fields" tab and click on the "Opportunity" Object. In the dropdown list of fields, click on the "{}Name" field. Below the header of the document, you will have the following merge field: {!Opportunity. Name}.
- Then use the "Name" and Billing Address" fields from the "Account" Object to indicate who will use the quote. Also, insert the "CreatedDate" field directly from Opportunity to show when the quote was prepared.
- After you get the prepared date in the document, you need to add the expiration date in your quote. For example, it expires 30 days after the quote (document) has been generated. So let’s use some magic to do that. By magic, we mean expressions:
-
Select the "fx" tab on the "Template Builder" work pane. As you remember, this one stands for Expression Builder.
-
Open Expression Builder by clicking on the icon in the bottom left of the expressions input field.
-
In the "Select function" section select the "Format" function type and the "format date" function. Click Insert. That function makes the date look in the "dd/mm/yyyy" format.
-
Highlight the "DateField" in the text field below, and select the "Date" function type and the "addDays" function in the "Select function" section. Click Insert.
-
Now you need to replace DateTime in the expression with the current date. From the Select function menu, choose the "Date" function type and the "now()" function. This function reflects the current date and time.
-
Highlight DateTime in the text field below and click Insert. This action will replace DateTime with the "now()" function.
-
Replace NumberOfDays with 30.
-
The final step is to change the Format to Short.
The result should look similar to this:
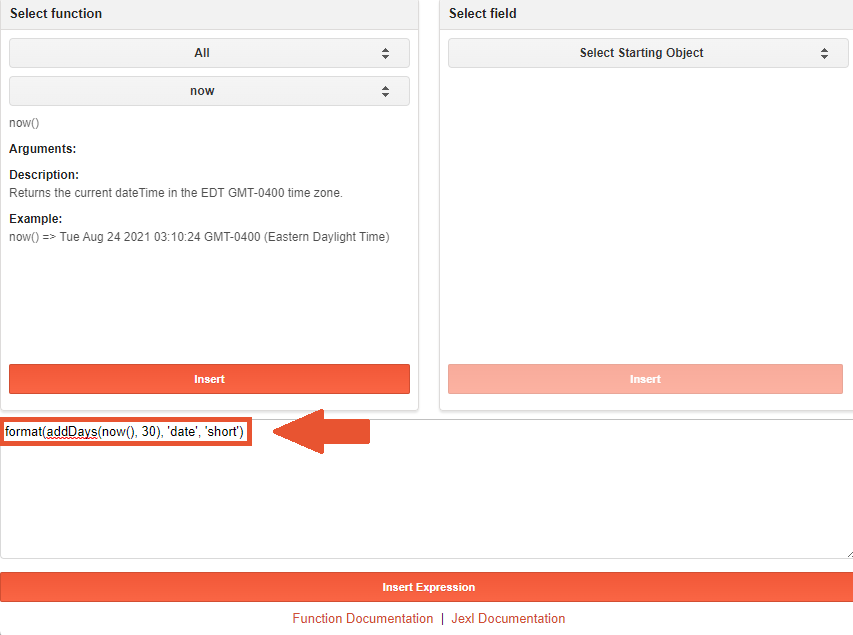
-
Click Insert Expression and then Insert Expression one more time.
-
All the fields we've put using the "{!QueryName.FieldName}" notation are dynamic. It means they depend on the results that our queries returned.
¶ Inserting elements
The next step is to show information about our Opportunity's products.
If you remember, in the "Query Builder" article, you added OpportunityLineItems as a sub-query. For the sub-query to be available in Template Builder, you need to be in a specific context. Sub-queries can only be accessed "from the inside" of an element that belongs to its parent query, for example, the "Repeater" or "Table" element. This is where the Elements part kicks in.
Elements are building blocks of every document and sheet. They allow users to transform a simple text document into a rich, content-filled file that meets the needs of a wide range of users. They are written in HTML-like code directly within the document template. You can find more information about Elements and how to write them here.
You will use the "Table" element to show the information about the products.
The Table iterates through records selected in the "Value" parameter, and for every record in the iteration, the table row is repeated. The "Variable" parameter represents the current record in the iteration.
- Place your cursor where you want your products to be shown. Then, in Template Builder open the "Elements" tab.
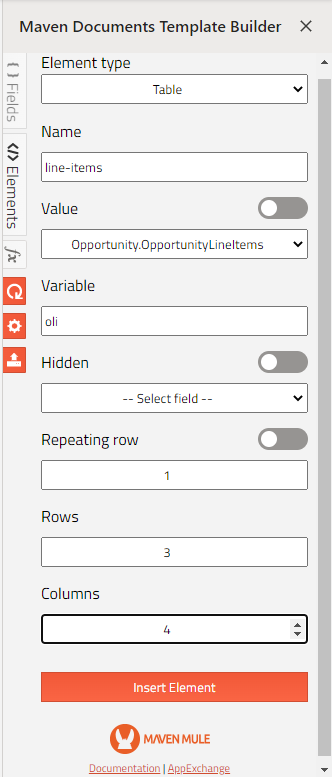
- In the "Element Type" field select the "Table" element.
- Fill in the fields with the following values:
Name: line-items
Value: Opportunity.OpportunityLineItems
Variable: oli
Repeating row: 1
Rows: 3
Columns: 4 - Leave the "Hidden" parameter untouched and click Insert Element.
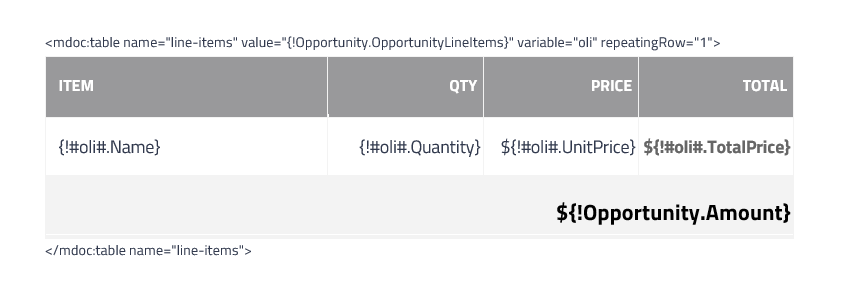
Now that the table has been inserted, you need to modify a few things.
Each column in the table represents a single field from the product. The first row (row 0) will be the header row and will be filled with the field names. In the bottom row (row 2) put the total opportunity amount by adding the respective field from the Template Builder.
Now, all you need to do is fill in the repeating row (row 1) with field values.
- Place the cursor inside any cell of the table and click the "Refresh" button to get values from the "oli" variable in Template Builder.
- Insert the fields into their corresponding cells in the middle row.
- Make some cosmetic changes, like changing the color of the rows and making the font bolder.
The table should look like this.
With the table inserted, you have your first page.
¶ Continuing the modification with known tools
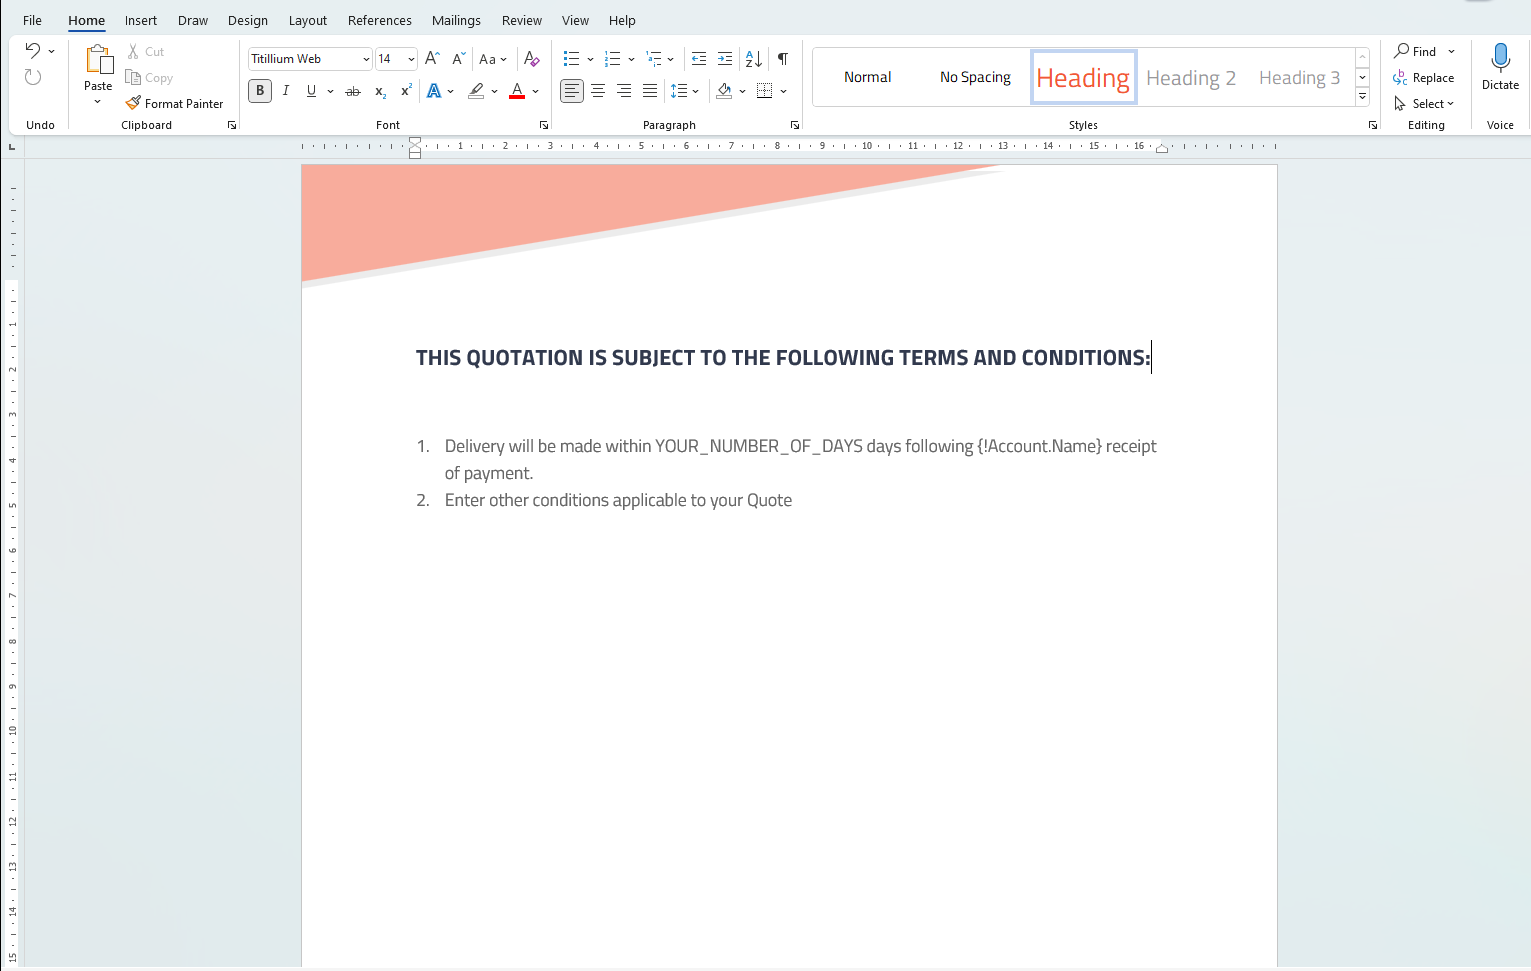
On the second page of the template, you will add additional content related to the terms and conditions. Using Template Builder's features, add a few placeholders to dynamically populate the account's name and delivery period, for example.
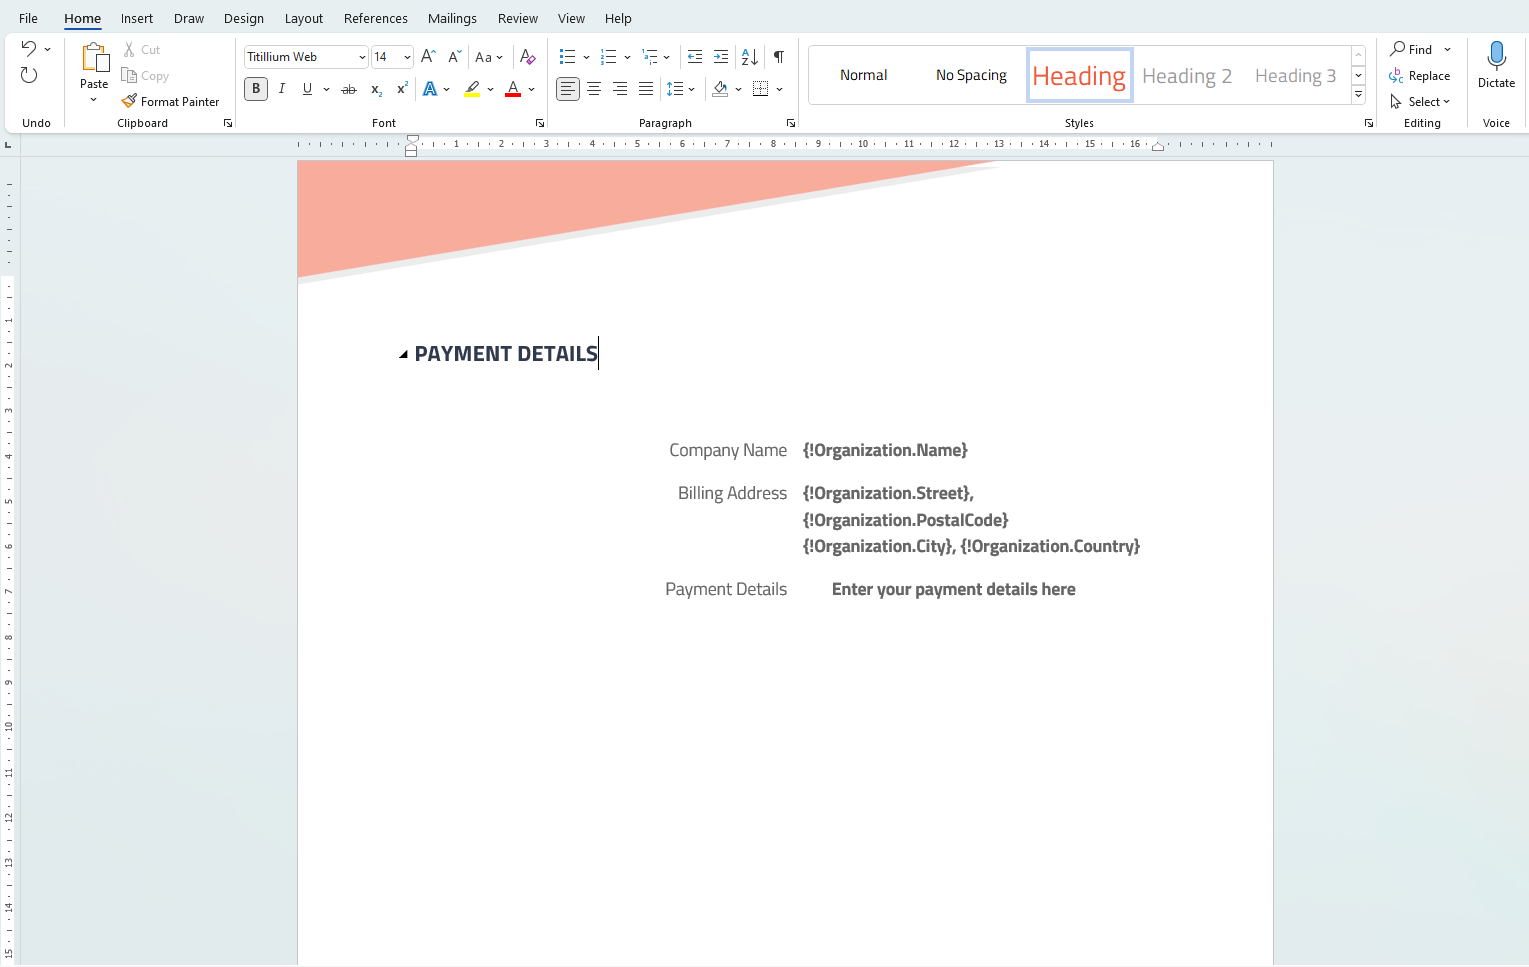
The third page of the "Sales Quote" document stands for payment details.
The combination of Microsoft Word’s editing features and the Template Builder’s capabilities helps you create the template you need with all the necessary data.
The last page will contain the contact details of a sales agent and a customer.
Add the sales agent's contact details by using the respective fields from Template Builder. To insert the customer contacts you can use the already-known table element:
- Place your cursor where you want the information to be shown. Then, in Template Builder open the "Elements" tab.
- In the "Element Type" field selectTable.
- Fill in the fields with the following values:
Name: contacts
Value: Opportunity.OpportunityContactRoles
Variable: con
Repeating row: 1
Rows: 2
Columns: 4 - Leave the "Hidden" parameter as it is and click Insert Element.

When the table is inserted, fill its cells with the needed data.
- As in the previous example, the first row will be the header row. So, populate its cells with the names of the fields.
- Put the cursor in the second row and refresh the query. By doing this, the fields from the sub-query will appear in the Template Builder.
- Insert the needed fields inside the respective cells of the table.
In the screenshot below you can see what you could have as a result.
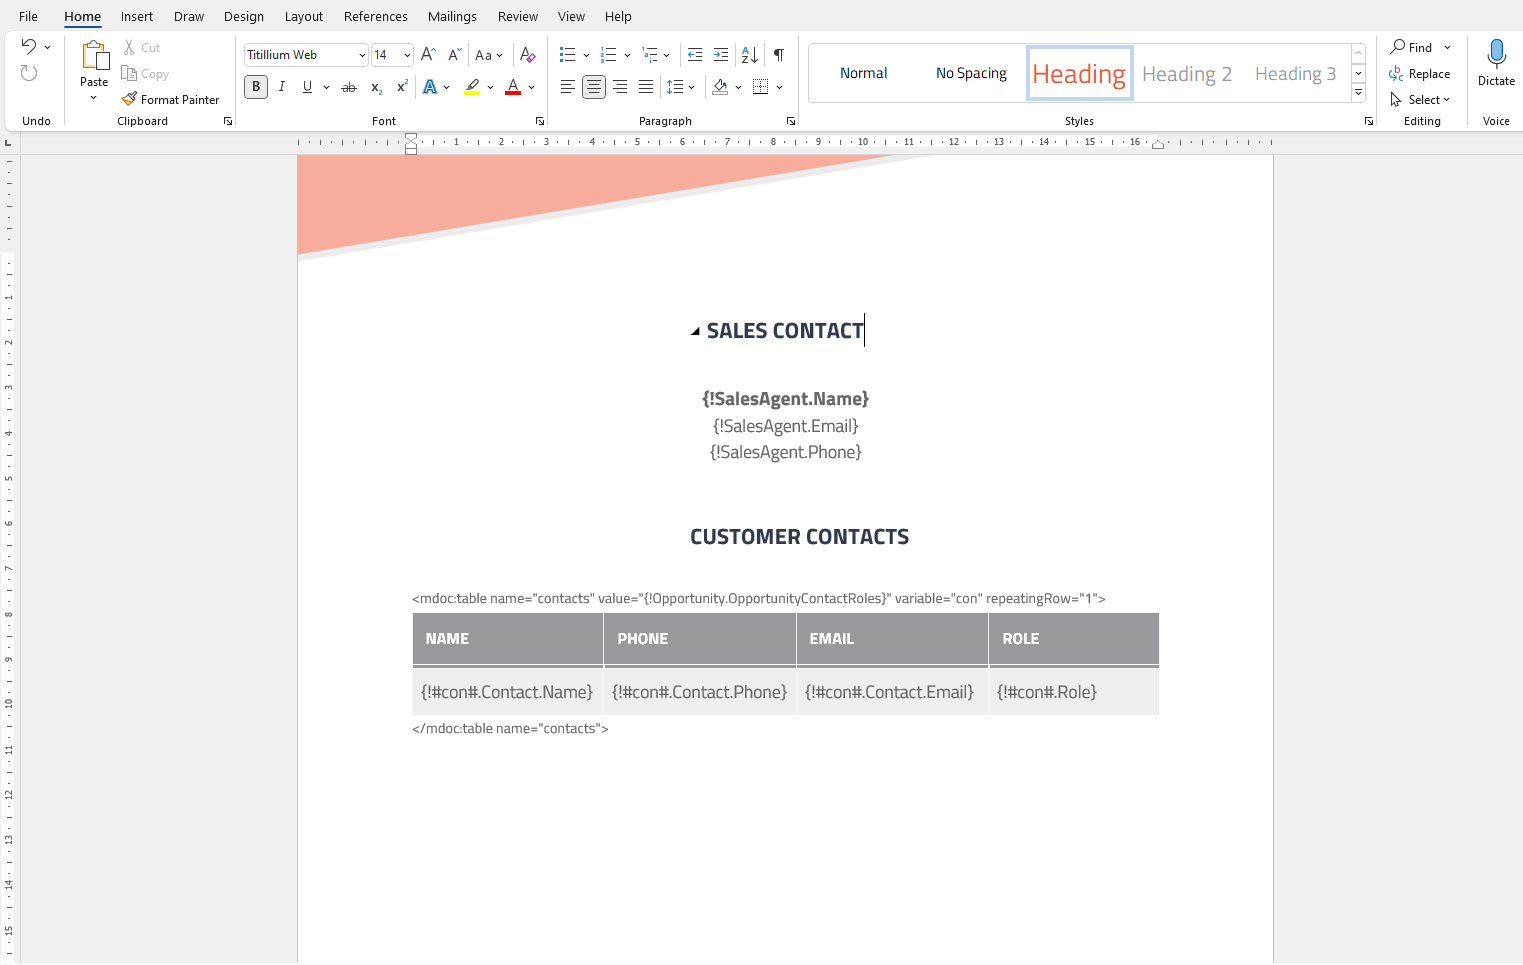
Here it is! That is how you can create any Document Template in Microsoft Word.
¶ Using parts of another document with the Include element
Consider a scenario in which other documents already include a table or element you can incorporate into your template. You can easily have this building block in your document by inserting it from another file. There's no need to replicate it from scratch: the "Include" element will do the magic for you.
Before using the element, make sure that you have additional DOCX Document Templates connected to the Document Solution you use or that there is a DOCX file uploaded to Salesforce.
-
Select the "Include" Element from the list in Template Builder.
-
Name the element and select the needed Source Type:
- Document Template.
This Source Type allows you to select the needed element from the file uploaded to the selected Document Template or insert the whole content of that file.
Due to Microsoft limitations on online DOCX files, you currently can't select a specific element from the needed Document Template. Once you select the template in the "Source" field, a warning message will appear.
However, if you close the message and insert the "Include" element into your document, you will include the whole content of the selected Document Template. If needed, you can manually add the required element from the Document Template by putting theelementName="The Name of the needed element"attribute into the body of the inserted "Include" element.- Salesforce File.
This Source Type allows you to define the needed DOCX file by its Content Version ID or Title.
- Document Template.
-
Let's say you go for the "Document Template" Source Type.
-
After the Source Type is selected, choose the template from the picklist in the "Source" field.
-
As you noticed, the "Element Name" field appears after the template is selected.
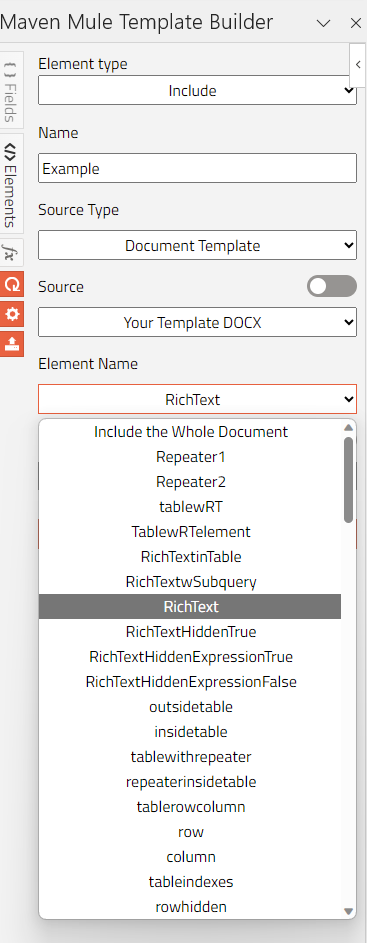
-
Pick the needed element and insert it into the document.
In the screenshot below you can see what the element's body looks like.

-
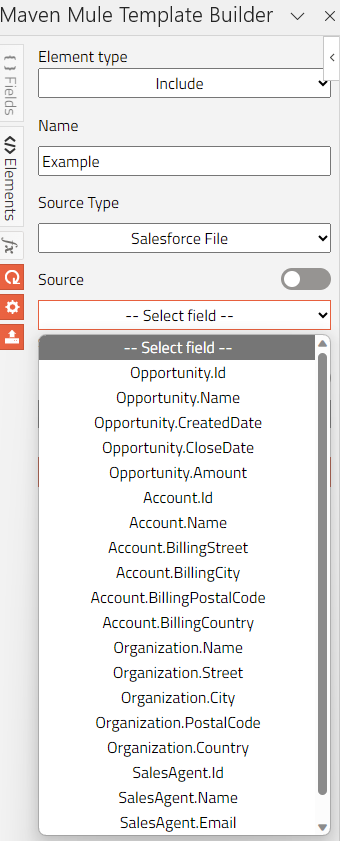
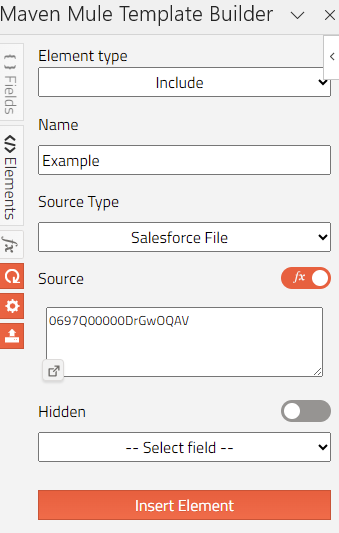
If your choice is Salesforce File, you have the following options:
- Use a merge field that holds the necessary ID or the title of the preliminary uploaded to the Salesforce DOCX file.
- Switch the toggle next to the Source field and enter the data manually in the "Expression Builder" textbox.
-
For the merge field option, after choosing the "Salesforce File" Source Type, select the needed field in the "Source" attribute.
-
After you insert the element, it will appear as shown in the screenshot below.

-
If you want to insert the ID or title manually, switch the toggle next to the "Source" attribute and place the needed identifier of the uploaded DOCX file in the "Expression Builder" text box.
For example, you can find the Content Version ID if you do the following:-
Go to the uploaded file on Salesforce and open it.
-
Click the "Show More" icon above the file and select the View File Detail option.

-
In the address bar of the opened tab, copy the ID. The ID is located between "ContentDocument/" and "/view" in the address bar.

-
-
After you insert the element with the manually added ID, you need to remove the braces, the exclamation point, and the dollar sign that wraps up that ID.

When using the file's title, ensure that it is unique so the Template Builder can fetch the correct file and avoid errors during the generation process.
Once you generate the template, it includes the selected element or the whole content of the file you've chosen.
¶ Uploading the DOCX File to Document Template
Now, when you have the document ready, you can easily upload it to the Document Template that you chose during the Login process.
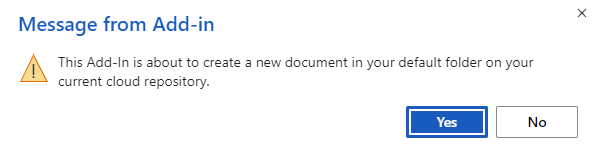
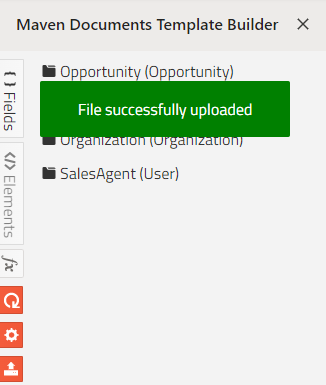
All you need to do is click the "Upload File to Template" button, on the "Template Builder" work pane. Once you have done it, you'll see the message that the file has been successfully uploaded.
The way the uploaded online file is displayed in the corresponding Document Template differs from offline versions of the file.
- If you are uploading the online DOCX file, the "Document Template Id" field is populated with the file's URL. The "Document Title" field is automatically populated with the title of the uploaded file
- If you are uploading the offline DOCX file, the "Document Template Id" field is populated with the ID of the uploaded file. The uploaded file appears in the "Files" section of the Document Template.

Once the "Document Template Id" field is populated, you can generate the file.
The Template Document Id appears a couple of seconds after the file was uploaded. If the ID doesn’t appear in two minutes, try uploading the same file one more time.
The waiting time depends entirely on Salesforce's current load and the upload time.
If you want to add a new file to the Document Template, you can use the "Add Files" button or the "Upload New Version" option. Maven Documents uses the latest version of the uploaded file. To keep things clean, it is good practice to have one file per Document Template uploaded. But if you have a couple of files attached to the template, the latest added file will be generated.
¶ Protect parts of the document
One of the native Microsoft Word functionalities is the ability to protect some parts of the document from editing. You can follow the link to see instructions on how to do that.
We are mentioning that because you can use this feature on templates built with the help of the Template Builder. Even if you choose to protect sections that contain merge fields, elements, or expressions, rest assured—they will still be processed and generated. In the final document, any protected sections will remain protected, including the Maven Documents elements within them.
Select the necessary parts carefully. For example, if you want the content of the Repeater to be protected, the whole "body" of the element with opening and closing tags should be in the restricted part.
There are still some limitations from the Microsoft side though. For example, you can set partial protection only using the desktop version of Microsoft Word. The online version doesn't have such functionality. You can open restricted documents online and view the restricted sections, but to make edits, Word will require you to use the desktop version.
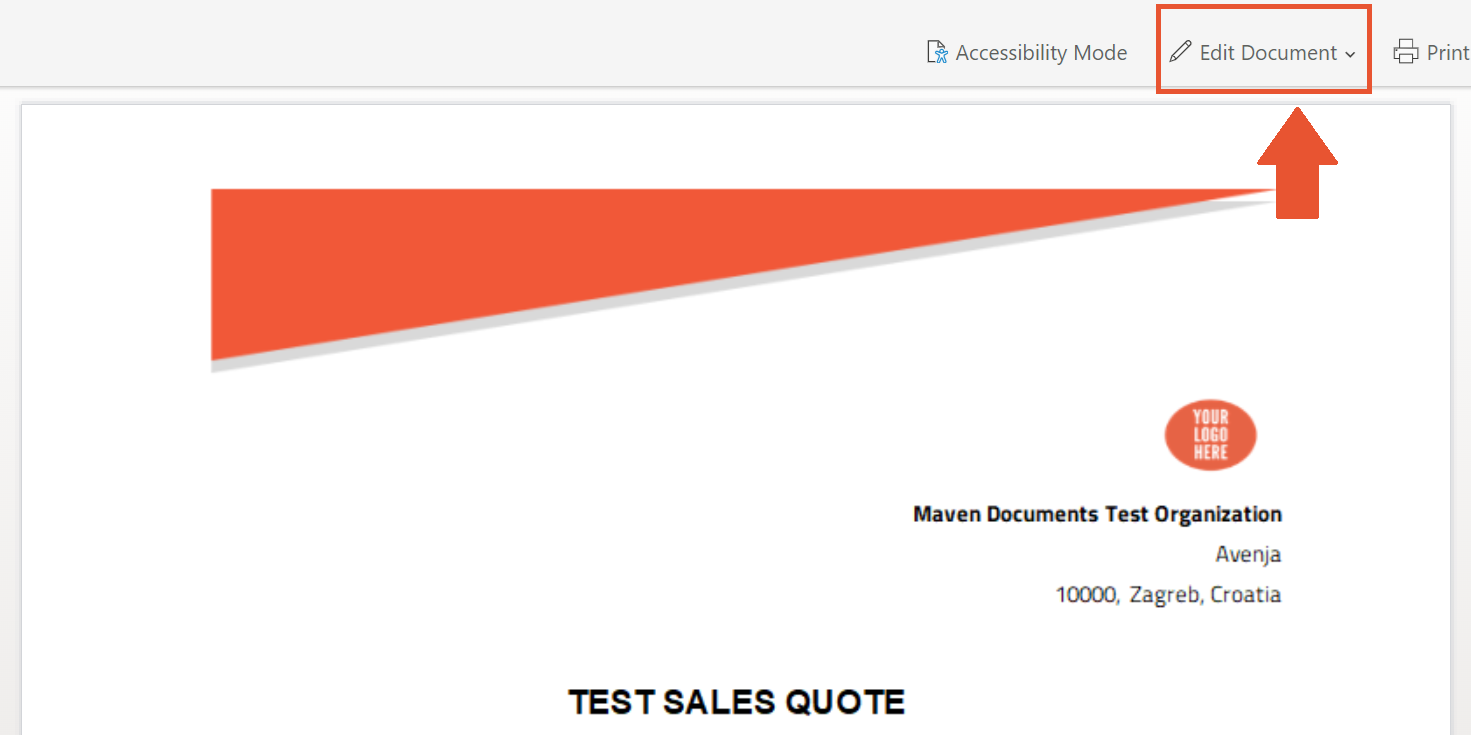
You can generate the document with restricted sections and save it to OneDrive, but it will open in "View" mode. To make changes, you can click "Edit Document".
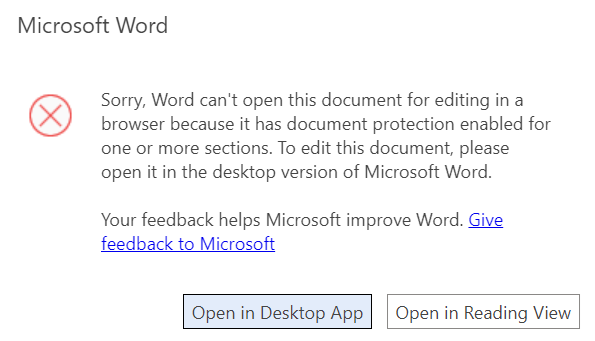
However, the result is a message prompting you to either use the desktop version of Word or continue in the "View" mode.
¶ Debug Document with Playground
If you want to see what the actual data will be available on your Document Template, feel free to use the "Playground" tab. It can also serve as a means to debug the Flow when things aren't going as they should be.
Try changing the locale definition in your settings, for example, and see how the data changes. Magic isn't it?